Alright, let's talk about getting that deck of yours looking sharp again. You've been staring at it, maybe it's faded, peeling, or just looks tired. A fresh coat of paint or stain can make a huge difference, and it's definitely a project many homeowners in Pittsburg can tackle themselves. But there are some things you gotta know to do it right and avoid a headache, believe me.
Before You Even Think About Brushes
First off, you can't just slap new stuff on old stuff. Your deck needs to be clean, and I mean *really* clean. Get rid of all the dirt, grime, mildew, and any loose, flaking old finish. A good power wash is usually the way to go here. You can rent one if you don't own one. Be careful though; too much pressure can damage the wood, especially on older decks. Keep the nozzle moving and don't get too close, okay?
After cleaning, you'll likely need to sand. This step is crucial for good adhesion. If you're going from one solid stain to another, or paint, you might get away with just a light scuff sand. But if you're trying to go from a solid finish to a semi-transparent stain, you'll need to strip the old finish completely. That's a much bigger job. For most DIYers, I'd say stick with a similar type of finish to what's already there, or go for a solid color if you're trying to cover up imperfections.
Check for any rotten boards, loose nails, or screws. Replace anything that's compromised. There's no point putting a fresh finish on a shaky foundation. Let the deck dry completely after cleaning – I'm talking a few sunny days, especially with our Delta breezes here in Pittsburg. You definitely don't want to trap moisture under your new finish.
Choosing Your Finish: Paint vs. Stain
This is a big one, and it really depends on the look you're going for and the condition of your wood.
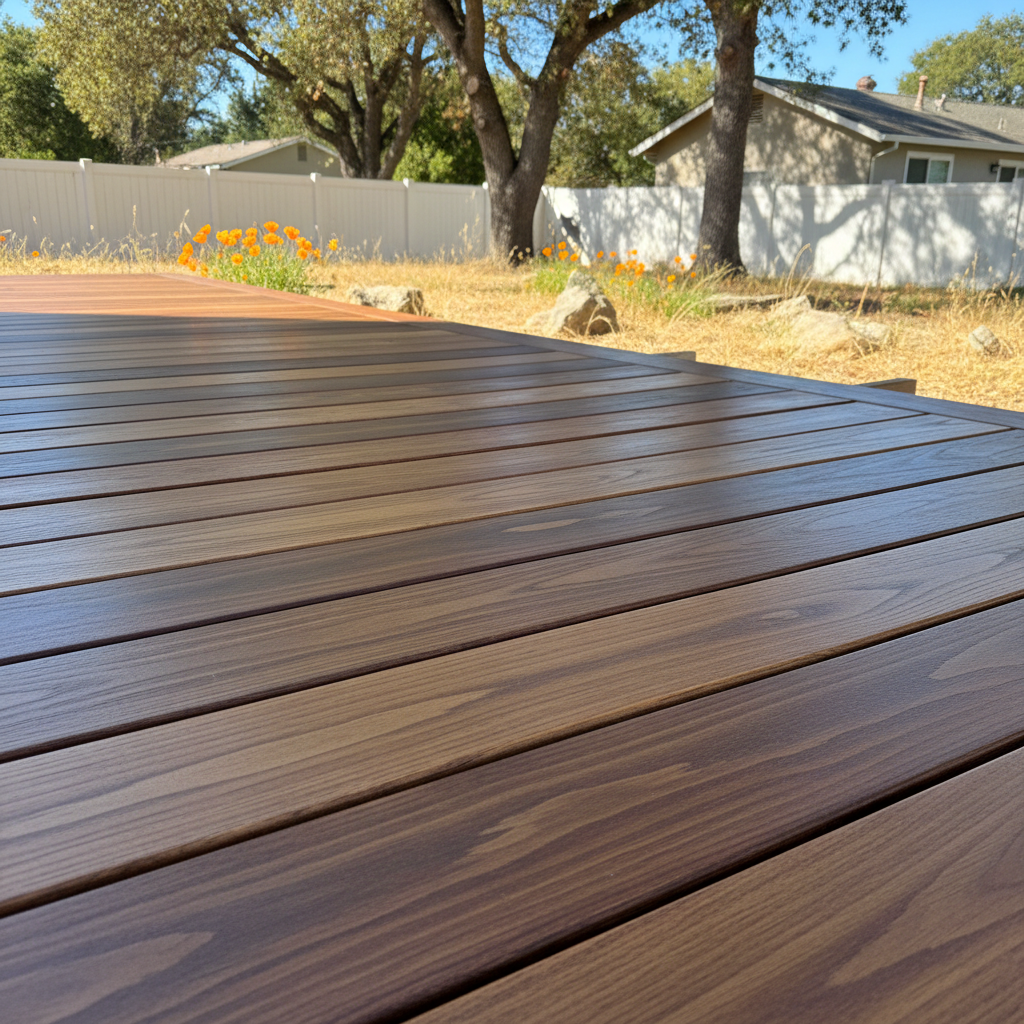
- Deck Paint: This gives you a solid, opaque color. It's great for covering up imperfections, hiding mismatched wood, or just getting a completely new look. Paint offers the most protection from UV rays and moisture, but it can peel if you don't prep it right. It's also harder to change later if you decide you want to see the wood grain.
- Solid Stain: Looks a lot like paint, but it's designed to penetrate the wood more. It still gives you an opaque color and good protection. The nice thing is, it tends to wear down rather than peel, which makes reapplication a bit easier.
- Semi-Solid Stain: Offers a bit of color while still letting some of the wood grain show through. It's a good middle ground, offering decent protection.
- Semi-Transparent Stain: This is for when you really want to show off that beautiful wood grain. It adds color but lets a lot of the natural wood character come through. It offers less protection than solid options and needs reapplication more often.
- Clear Sealers: Just for protection, no color. You'll see all the wood grain, but these offer the least UV protection and usually need annual reapplication.
For most decks around here, especially those exposed to our intense summer sun, I usually recommend a solid stain or paint for maximum longevity and protection. If you've got a brand new cedar or redwood deck, a semi-transparent might be worth it to show off the wood's natural beauty.
Getting Down to Business: The Application
Once you've prepped and picked your finish, it's time to apply. Always read the manufacturer's instructions on the can – they're there for a reason!
Here are a few pointers:
- Weather is key: Don't try to paint or stain on a super hot, sunny day, or when it's windy, or if rain is in the forecast. The ideal temperature range is usually between 50-85 degrees Fahrenheit. Our mornings here in Pittsburg can be foggy, so wait until things dry out.
- Work in sections: Don't try to do the whole deck at once. Work on a few boards at a time, keeping a wet edge to avoid lap marks.
- Thin coats are better: Two thin coats are always better than one thick coat. It dries better, adheres better, and looks better.
- Use the right tools: A good quality brush for railings and tight spots, and a roller or pad applicator for the deck surface. A sprayer can be fast, but it's tricky to get right without overspray, and you still often need to back-brush.
Don't forget the railings, steps, and any other vertical surfaces. Do those first, then the deck surface.
When to Call Pittsburg Deck & Porch
Look, I'm all for DIY, but there are times when it just makes sense to call in the pros.
- Extensive repairs: If your deck has a lot of rotten wood, structural issues, or needs a complete overhaul, that's beyond a simple paint job.
- Stripping old finishes: If you have multiple layers of old, peeling paint or stain that you want completely removed to change to a lighter stain, that's a beast of a job. Chemical strippers are nasty, and it's a lot of elbow grease.
- Time constraints: If you just don't have the time or patience for the prep work – which is 80% of the job, let's be honest – then hiring someone is a smart move.
- Difficult access: Decks with complex designs, multiple levels, or hard-to-reach areas can be a real pain.
We've seen it all at Pittsburg Deck & Porch, from simple refreshes to complete transformations. If you're feeling overwhelmed or just want it done right without the hassle, give us a shout. We're happy to come out, take a look, and give you an honest opinion on what your deck needs.
After the Project: Maintenance
Once your deck is looking spiffy, you want to keep it that way. Give it time to cure properly before putting furniture back or having a big BBQ. This can be anywhere from 24 hours to a week, depending on the product and weather. Keep it clean with regular sweeping and occasional washing with a mild detergent. Inspect it annually for any signs of wear and tear. Catching small issues early means you won't have to do a full repaint or restain as often.
A little care goes a long way in protecting your investment and keeping your outdoor living space enjoyable for years to come.